Thursday, May 5, 2022
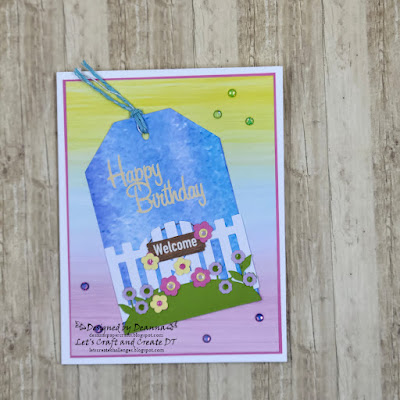
Let’s Craft and Create Challenge #183 AG Option Tag Your It!
Thursday, April 22, 2021
It's Your Day
Today I have another birthday card. Most of it was made using my Cricut Maker. This card is for my oldest grandson who is turning seven next week.
For the card base I used some light orange card stock from my stash. The card base is from the Alexis Mattox - Classically Modern Cards image set and is the Congratulations balloon card. The card has balloons cut out of the top layer and then a slightly smaller layer behind it to give the balloons color. I used the contour feature to remove the balloons from the top layer. I then resized the card to 8.5 wide and kept the lock closed so it resized proportionately. I then took the second layer and made it a bit smaller as I wanted a bigger border on the front of my card.
Next I went to the Star Wars™ - The Child Season 2 image set and found my Baby Yoda I liked. This image set is included in a Cricut Digital Mystery Box that was released today, April 22, 2021. My balloons come from the Disney® - UP image set. It was also in a digital mystery box that was released several months ago so I am not sure if it is available in Cricut Access. The original image has the balloons attached to a house which I didn't want. I was able to ungroup everything and delete all the layers of the house. There are also some black balloon strings and I sliced those off. I then arranged Yoda in front and to the side of the balloons and then flattened the images together.
I then did the print and cut for my Yoda image. Next I had my Cricut cut out my card base and then the patterned paper layer. I folded the card base and then added the pattern paper. The pattern paper is from an Echo Park It's Your Birthday Boy 6" X 6" paper pad. Next I popped up my image. My sentiment is from the Whimsy Stamp Simple Sentiments stamp set. I embossed the sentiment on a scrap of the orange card stock. I stamped the sentiment using Versamark Embossing ink then used some California Sunshine Wow embossing powder. I love how it looks more orange after it melted.
To finish the card I added some Nuvo Crystal Glaze to the balloons and sprinkled them with a little glitter. The crystal glaze was still wet when I took my picture so I have a bit of a glare. Then I added the blue stars which were from Sizzix. This card will fit in a standard A2 size envelope.
Thanks for visiting today. I hope you enjoyed your time here.
I have entered this project to the April Anything Goes Challenge over at Love to Craft Challenge blog.
Sunday, August 16, 2020
Happy Birthday card
This is a birthday card I made for my daughter-in-law whose birthday was last week. The card is 4 1/4" X 5 1/2" card stock. Patterned paper is from Echo Park. Colored card stock is from my stash. I added some Nuvo glitter drops in white blizzard to the candle flames. I got the design from the Silhouette store. I purchased the svg file and used my Cricut maker.
Thanks for visiting. I hope you all have a great day.
Thursday, February 20, 2014
It's a 3D Birthday!
My 3D box is from the Silhouette store. It includes the bow. I added some white dots to the bottom rick rack with a white gel pen. My sentiment uses 2 CardzTV stamp sets, Ticket Talk 2 and Good Times.


