Showing posts with label Thanksgiving. Show all posts

Friday, October 7, 2022

Happy Halloween Shaker Card


I'm back today with a fun Halloween shaker card I made using more products from Kat Scrappiness.

For my card today I started with some heavyweight black cardstock that was cut, scored and folded to make a 4 1/4" X 5 1/2" card base. I used the white spiderweb pattern paper from the Creepy and Kooky 6" X 6" paper pad. I love this paper pad, it has so many great papers in it. I cut my pattern paper to 4" X 5 1/4".

I used the new Stitched Nesting Hexagon dies to cut a window in my pattern paper. I then used the same die and the next bigger one to create a frame for my window out of more black cardstock.  I then cut a piece of acetate slightly bigger than my opening and adhered it to my card with some thin double sided adhesive tape. I added some adhesive behind the middle piece I had die cut and centered it into my opening so I could adhere it to my card base.  I then added my shaker bits to the piece of pattern paper that I adhered to my card base. I used some narrow strips of foam tape around my window and added foam tape to the rest of my pattern paper, aligned it up with my base and adhered it to the card. I used the Kat Scrappness BOO-TACULAR Sequin Mix for my shaker filling.

For my sentiment I used the new Spooky Happy Halloween die. I cut the shadow from black cardstock and the top layer from white and adhered it across my shaker window. I think this sentiment die is so fun with the drippy font.

Thanks for stopping by today. I hope you will pop over to  Kat Scrappiness and check out all the new Halloween and Thanksgiving release products. They also just did a Coffee Themed release called Perk Up. So all you coffee lovers be sure to check that out as well.

Sunday, September 25, 2022

Boo!


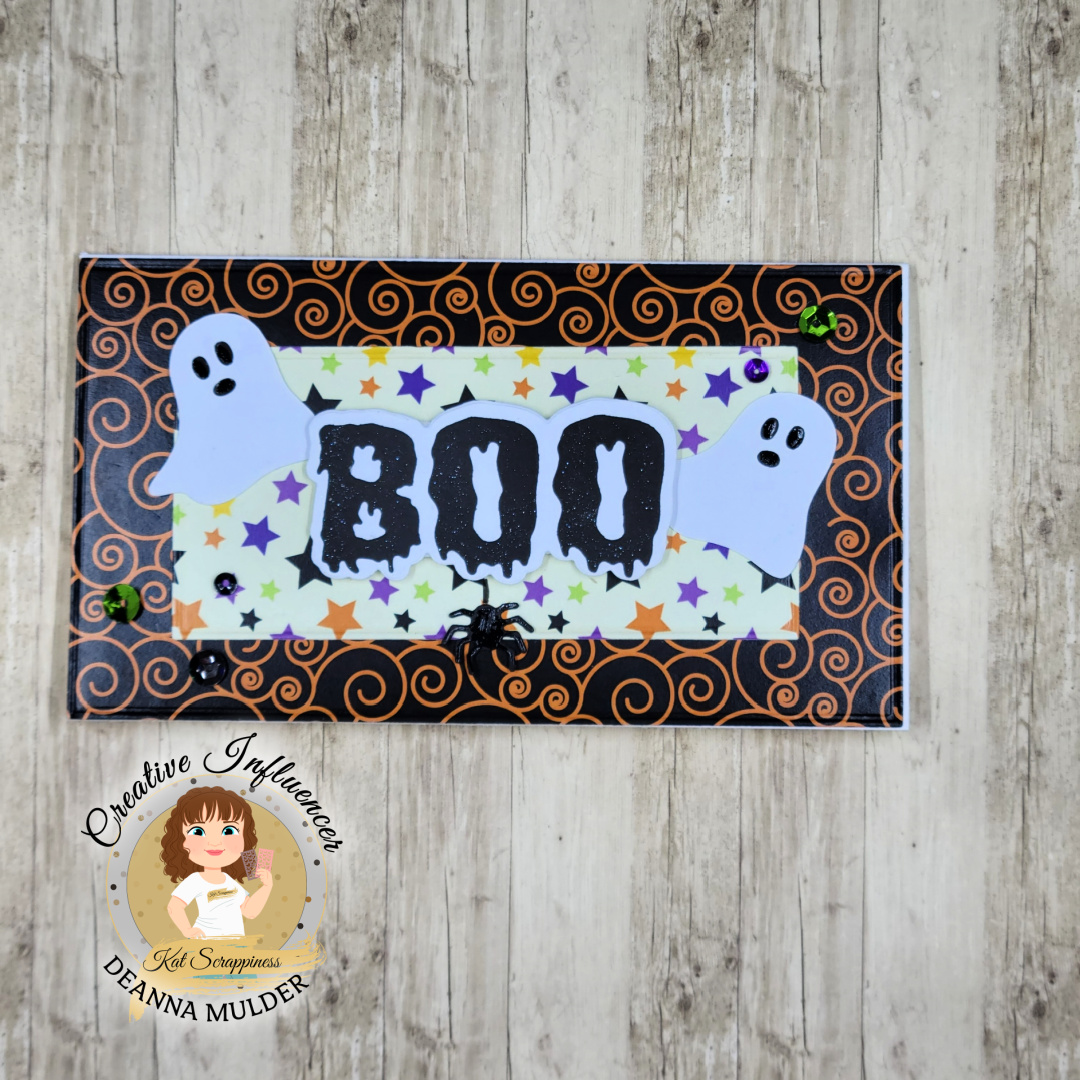
 Today I have a mini slimline card featuring the new Boo die from the Halloween and Thanksgiving release over at Kat Scrappiness. My pattern paper is from the Creepy and Kooky 6" x 6" paper pad. The paper pad is double sided and 80lb cardstock. It's a really nice paper.

For my card I started with some heavyweight white cardstock that I cut and folded to make my card base. I die cut my pattern paper using the Mini Slimline Embossed Edge Dies.  I used the largest die for the black and orange paper and the third die for my star paper.

I added the pattern papers with some liquid adhesive. I die cut my Boo from black cardstock and the shadow from white cardstock. I love that the shadow die is included. I popped up the sentiment using some foam tape. I die cut a couple of ghosts and a spider using dies in my stash. I thought it would be cute to have the spider hanging from the O in the sentiment, so I took a black marker and drew a line from the O to the spider. Finally, I finished my card using some Boo-Who? sequins from Kat Scrappiness.

I hope you will pop over Kat Scrappiness and check out all the products in the new release. Thanks for stopping by.

This post contains affiliate links, and I will be compensated if you make a purchase after clicking on my links. 

Monday, November 22, 2021

Happy Thanksgiving


Hello everyone. I wanted to be sure to wish you a Happy Thanksgiving.  For my card today I started with some heavyweight cardstock cut, scored and folded to make a 4 1/4" X 5 1/2" card base. Next I took a piece of kraft cardstock cut to 4" X 5 1/4", spritzed it lightly with some water and embossed it using the extremely detailed Tim Holtz 3D embossing folder Leaf Veins embossing folder to emboss my panel.

Next I used some Tonic Studios - Craft Perfect - Pearlescent Card - 6 x 6 - Autumn Maple and my Tim Holtz  3D Impresslits Embossing Folder and Die Oak Leaf.  The embossing folder and the Impresslits folder provide so much detail.  This paper is beautiful. Be sure to check it out.

Finally, I used my Cricut Maker to cut out my sentiment.  I used some brown cardstock to cut out my offset I created, and some gold matte cardstock for my main layer of my sentiment.

I adhered my kraft cardstock to my card base. Next I added my oak leaves using some foam tape.  I adhered my sentiment to it's offset and then added it to my card front using some foam tape. 

To finish the card I added a few gold pearls from Kat Scrappiness. These gold pearls are a must have addition to your collection.

I just wanted to wish you all a very Happy Thanksgiving. I hope you all have a wonderful time with you families and friends. I hope you will be back soon for another visit. Thanks for stopping by today.

Thursday, November 12, 2015

Happy Thanksgiving

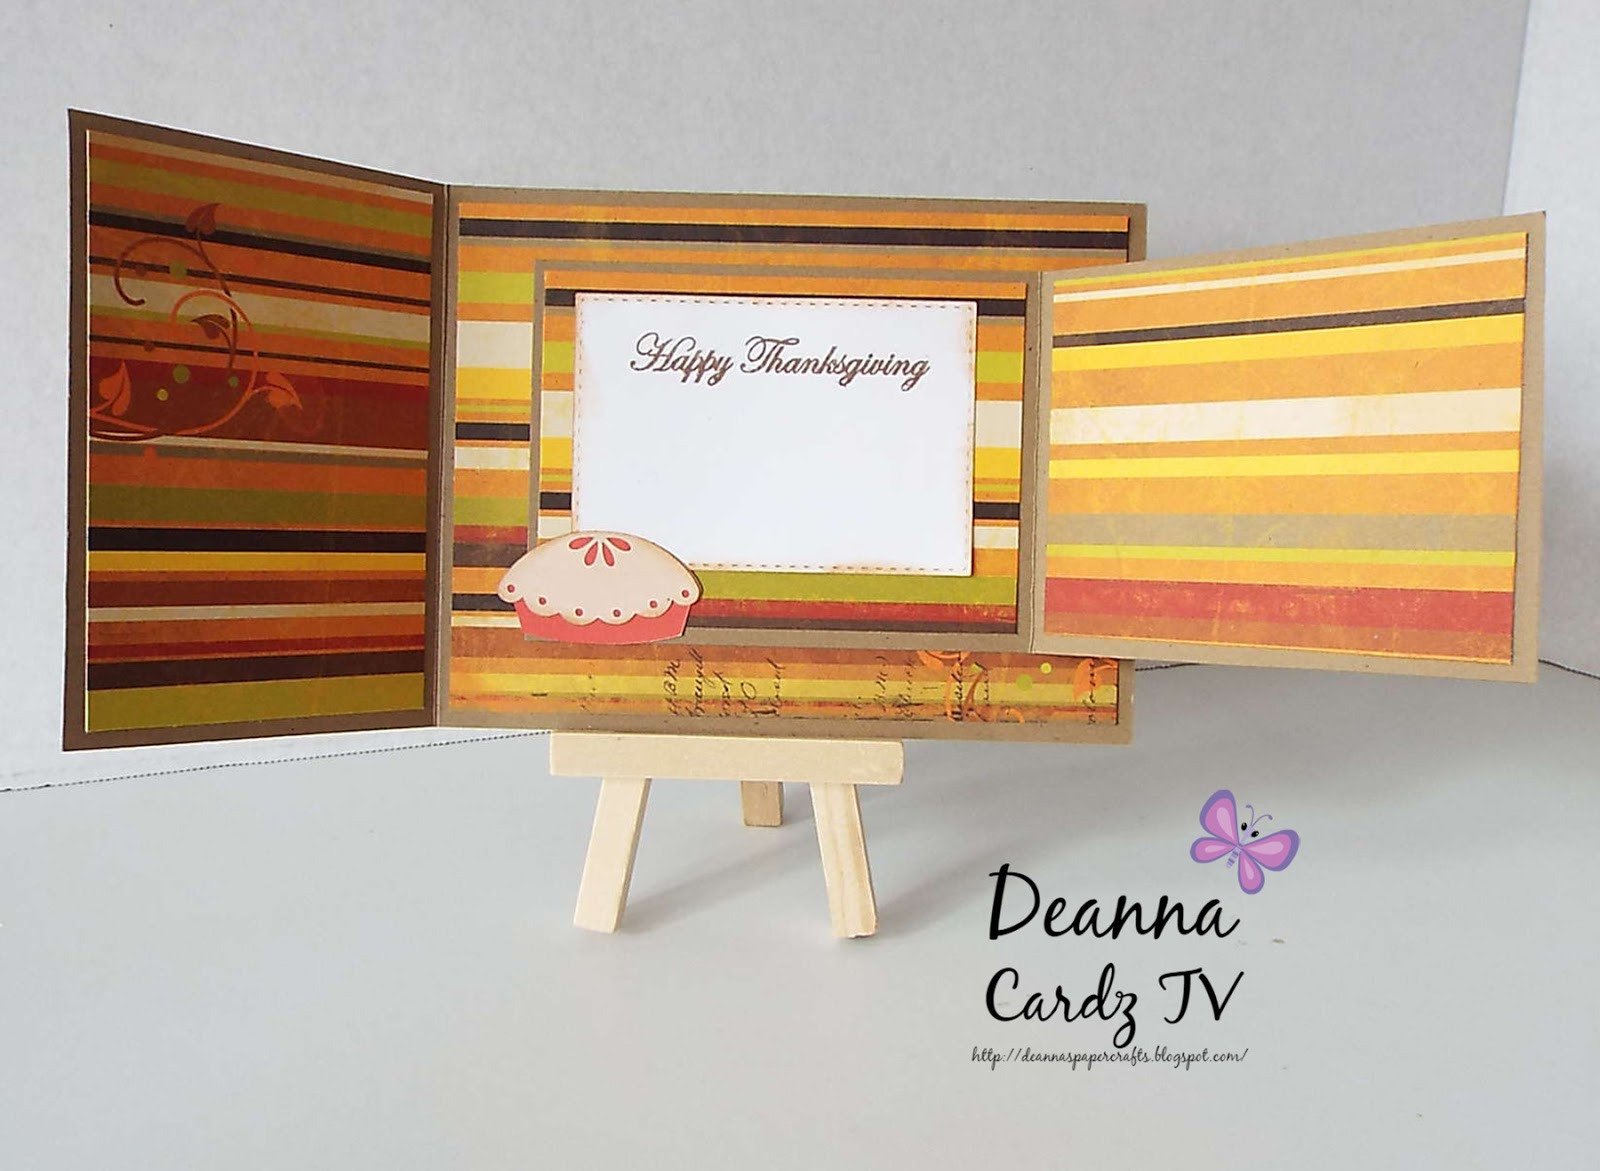
It is time once again for a new 3D Challenge over at CardzTV.  The challenge this time is to make a 3D Card for Thanksgiving.  This is what I came up with.


My card is a Joy Fold card.  They are easy to make.  I started with a piece of Kraft card stock cut at 4 1/4" X 8 1/2". Then score the card stock at 5 1/2" this makes the front's left front flap.

Next cut a piece of card stock 3" x 8" and score it at 4".  This makes the piece that the Turkey in the picture is adhered to.

I added some patterned paper cut 1/4" smaller than the individual sections of the card.  The piece with the turkey on it is centered on the inside of the card on the bigger right flap.

I used Going in Circles stamp set and a scalloped punch to make the little piece used to keep the card closed.  On the inside I used Thankful for You stamp set for the inside sentiment. Both the Turkey and the pie came from the Silhouette store.  The Turkey is a print and cut image.

Now it is your turn to show us what you can do to make a 3D card for Thanksgiving and link it up over at CardzTV for a chance to win a set of CardzTV Stamps.  Thanks for stopping by.  Please feel free to leave me a comment I love reading them.

Wednesday, November 7, 2012

We Gather Together.


There is a new challenge for the Cricut Cardz Challenge. It is Attitude with Gratitude! To make a Thanksgiving Card. Here is my inspiration for you.

My card base is a 4 1/4" X 5 1/2" light tan card stock. I added a green mat cut at 4" X 5 1/4" and a patterned paper mat cut at 3 3/4" X 5" and then my rust color mat was cut at  3 1/2" X 4 3/4". I stamped my sentiment and then I embossed the rust mat with the Musical Flourishes Cuttlebug embossing folder. I cut my corn from the Thanksgiving seasonal cartridge from a couple of years ago. The corn was cut at 3". I used some rust colored embroidery floss to wrap around my corn tops and then tied it in a simple bow. Finally I added some dark brown buttons to each corner.

I sure hope you will play along with us for the latest challenge. Looking forward to see all your projects!

Sunday, October 31, 2010

Turkey Card

Here is a quick Thanksgiving card I made using the turkey from the Create-a-Critter cartridge. He was cut at 3 1/2". I cut all his layers. The card base itself is 4 1/4" X 5 1/2" Kraft card stock. The orange mat is cut at 4  X 5 1/4". The patterned paper is a scrap from my stash and is cut at 3 3/4" X 5". The golden paper behind the turkey is cut at 2 3/4" X 5.  I added some orange rhinestones to the turkeys back tail feathers. I also added some rust colored pearls for his eyes and added some doodle dots with a copper colored gel pen. I added a dot in the center of each of the turkey's red tail feathers with the gel pen as well.  I haven't added a sentiment to the outside and am not sure I will. For his hat, I added some orange stickles where the cut was for a hat band to dress him up a little. Thanks for visiting.