Showing posts with label Wild Card cartridge. Show all posts

Monday, August 8, 2011

Hang In There Card


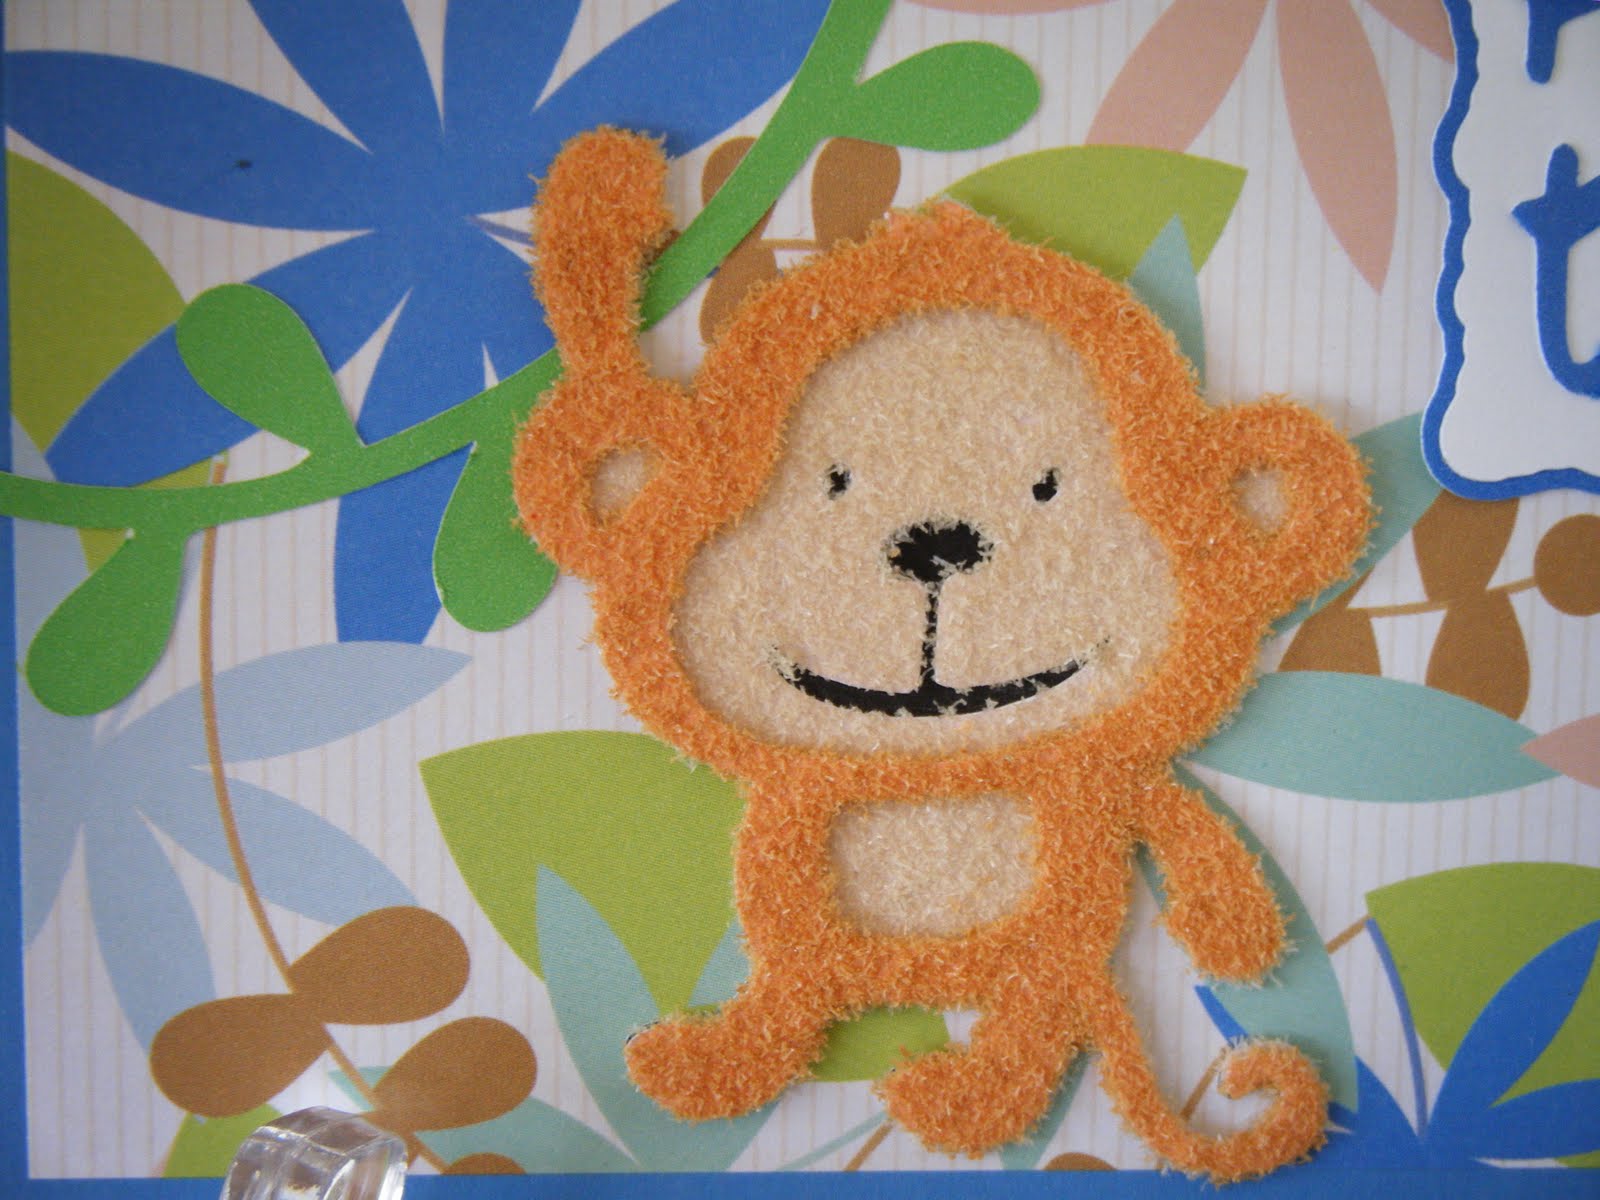
This week my Cutters Creek Design Team post is for Tuesday Tutorial using Flower Soft. The tutorial I have for you today uses the Ultra Fine Flower Soft as flocking. I love the dimension and texture it gives to my Cricut cuts.  I started with the monkey from the Create-a-Critter cartridge and cut him at 3". I used my Imagine to color each layer (love that!). The base layer was cut with black. The next I colored to match as close to the flower soft I chose to use.

Next I ran my layers I wanted to flock upside down in my Xyron so the adhesive was on the front of my image.
I used Sand Ultra Fine Flower Soft for the main layer of my image, and Toffee Ultra Fine Flower Soft for the outer outline layer to flock the monkey. I liberally covered my image with the flower soft and patted it down to be sure I had a good covering and then tapped off the excess.
I did the same with the other layer. Here is what they look like now that each layer is flocked.
Once I adhered my layers together with some Flower Soft Adhesive. I put my card together. My card is a standard 4 1/4" X 5 1/2" card. My base is white card stock. I then added a blue mat cut to 4" X 5 1/4" and cut my patterned paper from my scrap bin to 3 3/4" X 5". I used my ATG Gun to adhered the layers together.
The vine was cut at 3" as well and colored using my Imagine. For the mat for my sentiment I used the Elegant Edges cartridge (which Kim can special order for you just ask). I colored the shadow layer with a blue color and left the top layer uncolored as I wanted it white. The mat was cut at 2". My sentiment is from the Wild Card cartridge and was colored with the same blue as my shadow layer and was cut at 4".

I just love the velvety texture I get by using the Ultra Fine Flower Soft as flocking. The Ultra Fine Flower Soft can be used to add texture and dimension to any of your projects. I hope you give it a try.

Monday, September 6, 2010

Gone Fishing!

Here is the birthday card I made my for my son who turns 20 tomorrow. ( My time flies when raising kids!) we bought him a guided salmon, steelhead, sturgeon fishing trip on the Columbia River for two for his birthday. I know he will love it. Needless today I wanted to do a fishing themed card. I got this idea from the Cardmaking with the Cricut. the card is from the Wild Card cartridge and was cut at 5 1/2". The  fish are also from the Wild Card cartridge. I believe the fishing pole was from the Everyday Paper Dolls cartridge. I had to make this card in stages when my son wasn't around which for some reason wasn't very often.  I finally got it done this weekend which is good thing. The patterned paper is from from DCWV. I ran the fish through my Cuttlebug and embossed them using the tiny bubbles embossing folder. I used my white gel pen to highlight the gills and tail of the fish and added some small googly eyes. Thanks for visiting.

Saturday, July 3, 2010

Independence Day

Here is a card I made for in honor of the 4th of July. The card is 4 1/2" X 6" white card base. Each layer was cut 1/4" smaller then the previous layer. The patterned paper is from the DCWV Summer Dreams paper stack and reminded me of fireworks. The stars are from the Home Decor cartridge. The single stars are from the same cut I used my Gypsy and the hide contour feature to hide the larger stars and just cut the single smaller one. The word Celebrate is from the Wild Card cartridge. Again I used my Gypsy to create a small shadow for the phrase. I spritzed everything with Pearl glimmer mist. I did learn a lesson here and that is the glimmer mist spray settles into the crevices of the texture paper. The texture on this paper seems a little more pronounced and the glimmer mist really settled. I got the shimmer I wanted but not as happy with the frosted look it ended up with. Overall I am pleased with the card.  I do hope everyone has a safe and happy 4th celebration tomorrow! Thanks for looking.

Sunday, January 31, 2010

Thank You Basket

I carpool to work with two other co-workers. Recently my son has had to use my car so Korene has had do extra turns at driving. So as a thank you to her I made her this little Thank You Basket. I bought the basket at the dollar store (two baskets for $1). I also bought a small votive candle holder to put in the middle of the basket. I filled the basket and the candle holder with M & M's. I cut the flowers from the Walk in My Garden Cricut cartridge. I used the Daisy flower and cut them at 2 1/2" along with their shadow. I used some paper I had on hand to cut the flowers and yellow and purple card stock to cut the shadows. I adhered the flowers to Pixie Stix that I got at the dollar store as well. I cut a tag at 3" using the Gypsy Wandering font. Thanks was cut from the Wild Card Cartridge at 2 3/4" using some scraps of paper I had on hand. I also lightly inked the edges of tag using some Rosebud Memento ink. The pink ribbon I used for the bow is also from the dollar store. I will be giving it to her tomorrow and I am sure she will love it. Thanks for looking.

Saturday, January 30, 2010

My Favorite Color

I made this card for a challenge on the My Pink Stamper blog. A lot of folks including her are snowed and iced in this weekend. So Robyn has posted a couple of challenges on her blog. This card is for the first one. The challenge was to use your favorite color and black and make a project. Purple is one of my favorite colors so I decided to use that. My card base is 4 1/2" X 6 and is some purple bazzill card stock I had on hand. The black mat is cut at 4 1/4" X 5 3/4" and is Die Cuts With A View card stock. The green patterned paper is from a K & Company super pack that I got at Joann's this morning and is cut at 4" x 5 1/2".  I used A Child's Year Cricut cartridge to cut the little girl with the umbrella. I chose that cut because it went with the kind of weather we are having here today. I cut the girl and the shadow at 3". The Just a Note is cut at 2' and is from the Wild Card Cricut cartridge. Since the phrases don't have a shadow feature I just cut the phrase twice and offset it slightly to give a shadow effect. The flowers are Prima flowers that I held together with flower shaped brade and the ribbon is some I bought at Michaels. I used foam tape to adhere the girl and the phrase and a glue dot to adhere the flower.

Friday, September 25, 2009

Thank You Card


I had to make a thank you card for my in-laws. They have been spending time this summer going to garage sales which they love to do but while out shopping they have been looking for and buying me some rubber stamps. I just got a package in the mail from them this week with a bunch of stamps. There is a plastic bag with a bunch of small Christmas stamps and Stampin Up stamps. There is also some stamps that a teacher might use. Not sure exactly what I will do with those but will give it some thought. I used my Cricut Wild Card cartridge to make the card. This is the Doily card cut at 5". I also used the frame and phrase features on the cartridge for the black frame and the sentiment on the card. I made a matching envelope with the cartridge as well. Thanks for looking.

Saturday, August 1, 2009

It's the Great Pumpkin


My daughter asked me to make a Halloween card this afternoon. I bought the Wild Card Cricut cartridge a while back and haven't really had time to play with it so I thought I would use that to make the card. I cut the pumpkin card out of orange card stock and the in blackout on black card stock and glued them together. I cut out the grass on stem in green and the word Boo in orange. I layered the pieces together. I then used some brown chalk to place a slight shadow under the the stem and along the lines in the pumpkin. It doesn't really show in the picture but it does give it some definition when looking at the card. It was a really quick easy card to put together.

Sunday, July 26, 2009

Wild Card Cartridge


I bought the Cricut Wild Card Cartridge a couple of weeks ago and finally had a chance to play with it for a few minutes. I made the Cupcake card that was included on the cartridge. I made a green and blue striped cupcake "wrapper" and a pale green "frosting". I then took clear glitter and sprinkled it over the entire frosting section and dropped a few green seed beads to look like sprinkles. I also put the green and blue striped paper on the birthday candle and used a golden colored cardstock for the flame that I colored in with gold glitter. I like how it turned out. I made the card on a white card stock base and stamped Hey Cupcake and birthday wishes onit. I am not overly excited about the overall look of the card but love the cupcake. I may cut the cupcake off the card to use on another card.