Welcome to the LoveSVG Blog. I am super excited to be contributing to the LoveSvg Blog.
Let me introduce myself. My name is Deanna Mulder. I live in the United States, in Milwaukie, Oregon, a suburb of Portland. I have been paper crafting for about 15 years. One of my favorite things to make is cards. I am a fairly clean and simple girl as it relates to my card making. I am super excited to be selected by LoveSVG to write for their blog. They have such wonderful files to use!
I have two card projects to share with you today. I just couldn’t make up my mind what I wanted to use first. So of course I had to go with two different images. Both my images came from the Huge Exclusive Craft Bundle. The bundle contains over 1,000 SVG files that feature cute creatures, handwritten quotes, woodland animals and lots of whimsical designs. Check out all the SVG files and bundles offered over at LoveSVG.com.
Remember when downloading your bundle the files will come in as .zip files. These files will need to be unzipped or extracted before you can use them. For me, I use a Windows 10 laptop, I can simply right click on my file name and select Extract All. I let it extract to the default settings and click okay. Away it goes, extracting all my files for each part of the files. For this bundle I believe there were 6 parts.
Now, on to my projects for today. My first card features this adorable little frog. Isn’t he just the cutest?

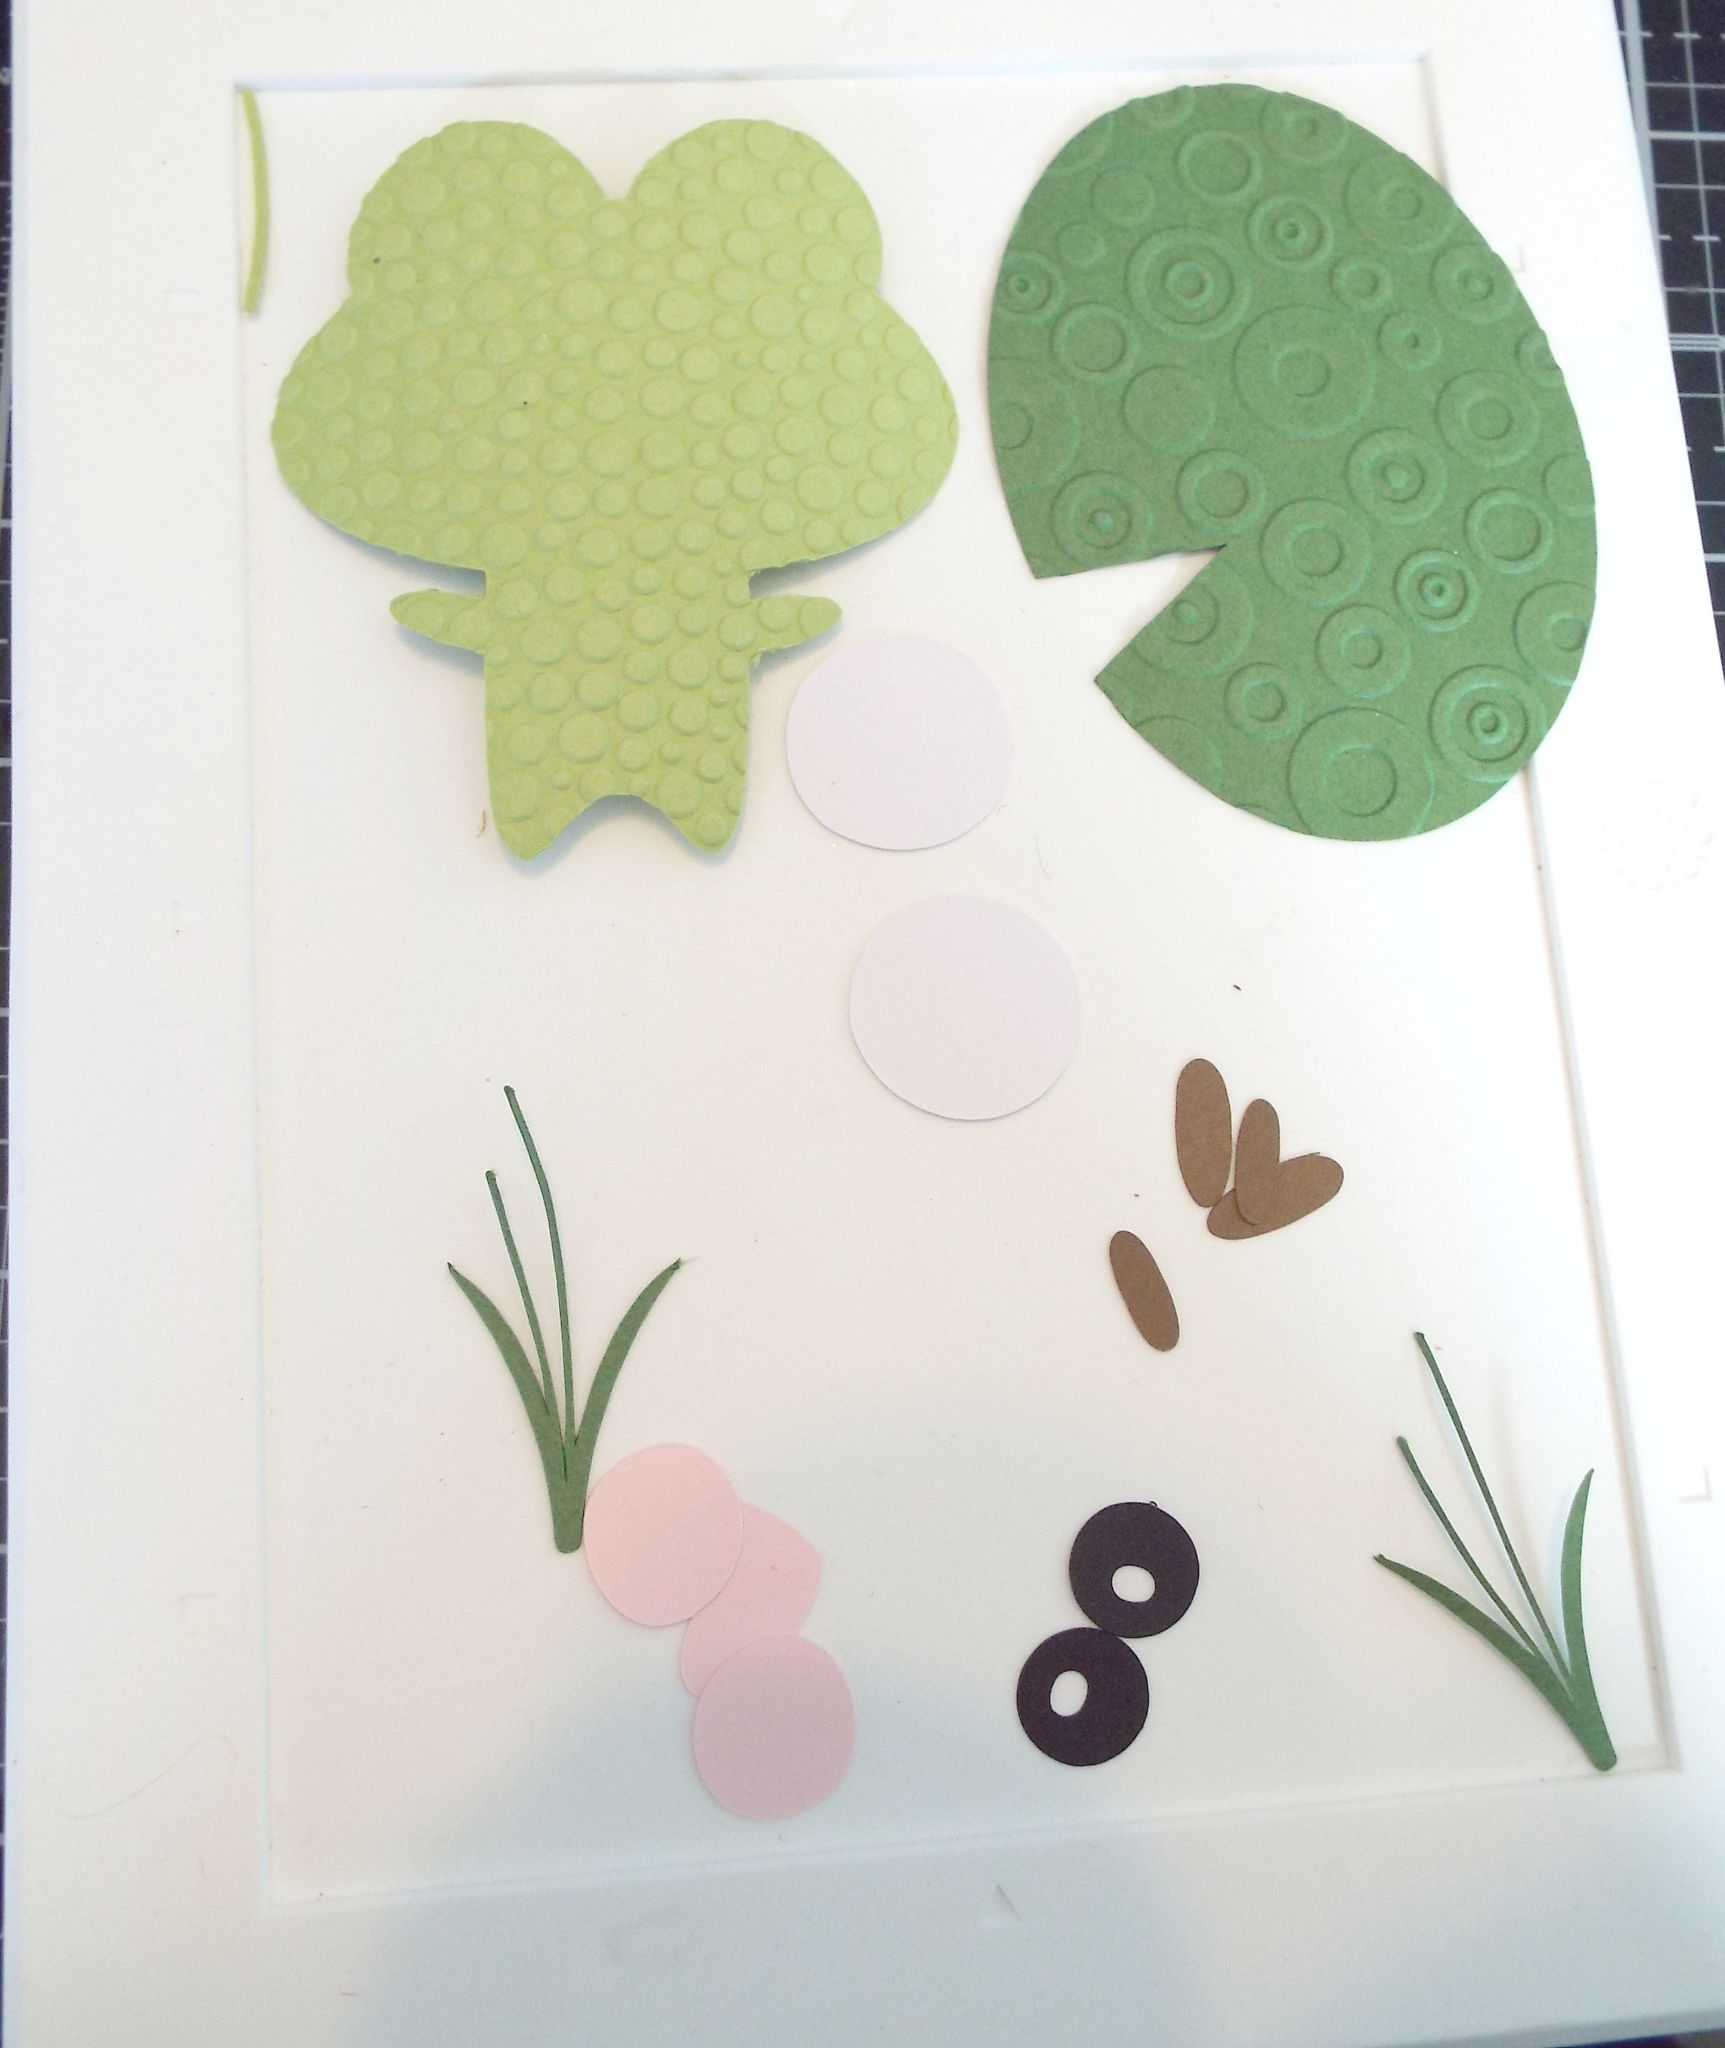
He is called Cute Frog and Elements and can be found in the Huge Exclusive Craft Bundle Part 4. I just think he is adorable. The image file comes with the frog, lily pad, and another two layers, a lily pad with a flower as well as the cattails. I opted to use the frog and his layers as well as the lily pad and cattails.
I started my card with some heavyweight cardstock cut, scored and folded to make a standard A2, 4 ¼” X 5 ½” card base. I then went on a search for the perfect pattern paper. I think I found it! The cloud and the wave pattern paper are both from an Echo Park 6” X 6” paper pad called I Love Summer. The cloud paper was cut to 2 1/2” X 5 ¼”. The wave pattern paper was cut at 2 ¼” ” X 5.¼”. These were adhered to the white card base using some liquid adhesive.
Now I was ready to cut out the elements for my frog with my Cricut Maker. This was quick and easy to do. First I uploaded the SVG elements for my frog to Design Space. I inserted the images to my canvas and resized it to fit my A2 size card. I used two different shades of green to cut the frog and lily pad and cattail leaves and stems. Black and white cardstock for his eyes, brown for the cattails and a light pink for his rosy cheeks and heart.

I then set about assembling him. I decided I wanted to add some texture to my frog so I embossed him with an older Cuttlebug embossing folder called Tiny Bubbles. I also added some texture to the lily pad also using an older Cuttlebug embossing folder. Unfortunately I do not know the name of this one. I adhered all the layers together using some liquid adhesive. I also assembled the cattails and glued them to the green stems and leaves. I glued the cattails to the backside of the lily pad on each side of my little frog. Finally I added some sparkle to his cheeks and heart with a Nuvo glitter pen.
Here he is all put together.

I added my frog to my card base using some foam tape and he is ready to WOW someone! The sentiment was stamped with some clear embossing ink onto a scrap of black cardstock and sprinkled with white embossing powder which I heated and melted using my heat gun. I cut the sentiment using a sentiment strip die from my stash then popped it up using some foam tape.
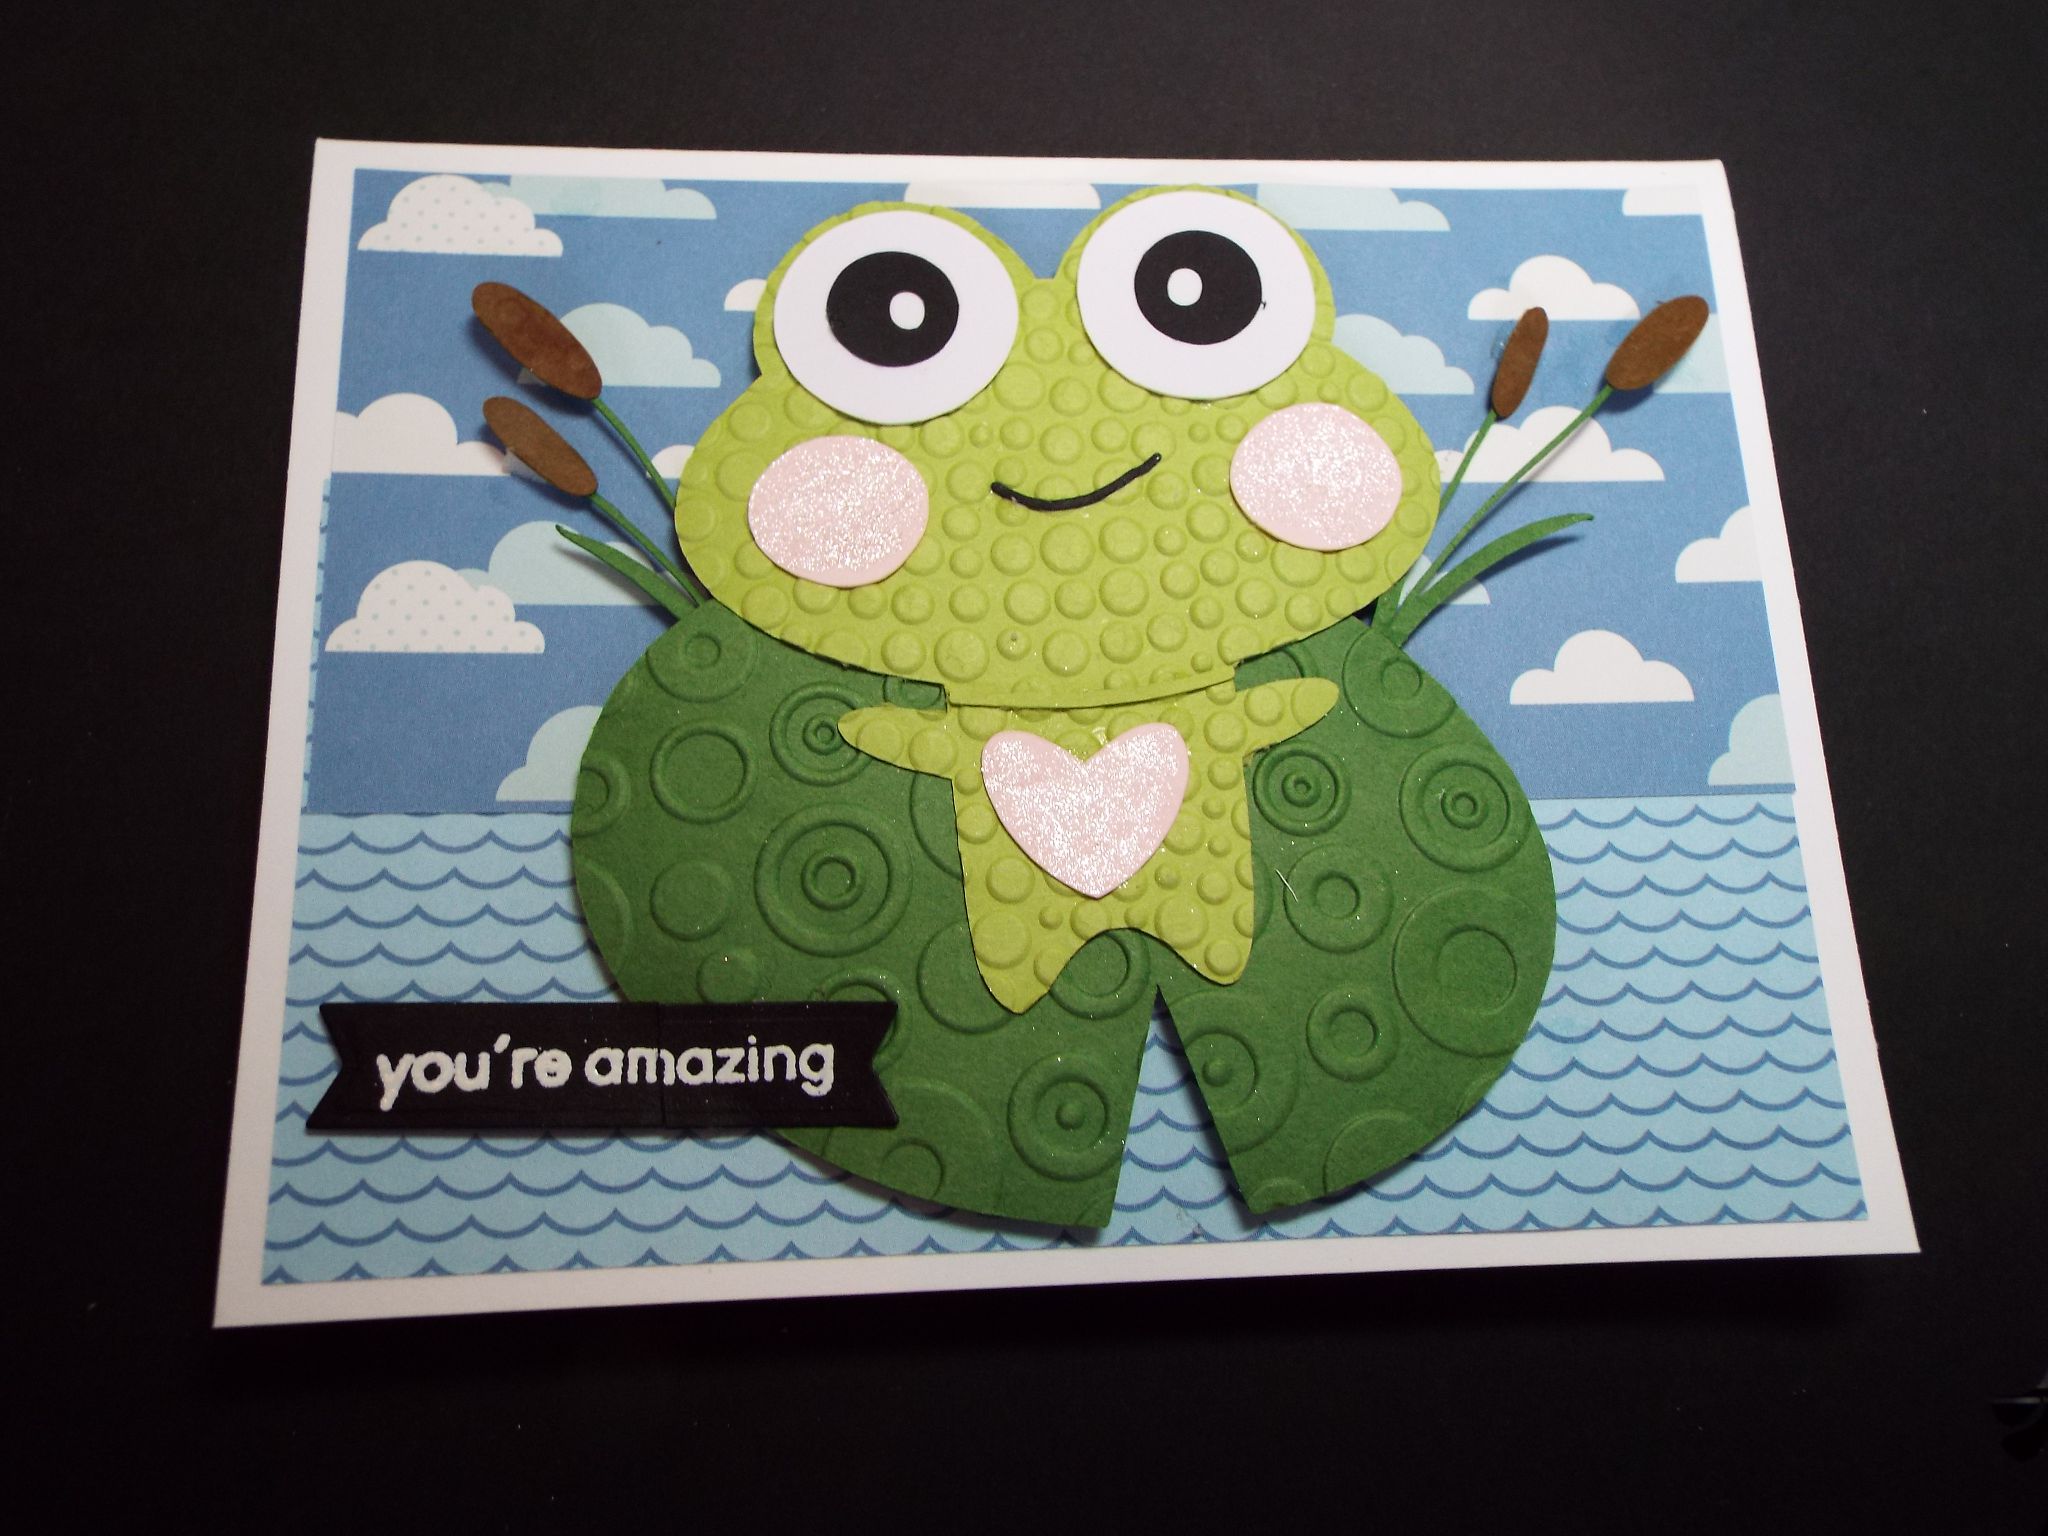
I just think he is too cute, don’t you agree??
Now on to my parrot. I just think he is so bright and cheery, he is sure to put a smile on someone’s face.

The Red Parrot SVG file can be found in the Huge Exclusive Craft Bundle Part 6, and under Part 13 in that file group.
The first thing I did was to upload my image to Cricut Design Space. To do this I again clicked on a new project. Once that screen loaded I scrolled down until I saw the Upload option on the left hand side of the screen. I selected upload, then upload an image and browsed my computer until I found the file I wanted. I knew I wanted the SVG file. On my laptop my system changes (or appears to change) my SVG files to HTML files and they just look like my web browser. In my case Firefox. So when uploading my images I had to choose the Firefox HTML image to upload my SVG file. It was quick and easy to do. Because these files are high quality SVG files I did not have to do any cleanup in Design Space before uploading.
Once my file was uploaded I inserted it to my mat and then resized it to fit my standard A2 card base. My card base was made from some heavyweight cardstock cut, scored, and folded to make a 4 ¼” X 5 ½” card base. I then cut the different layers for my parrot. I used two shades of red cardstock for my parrot. Black and white for his eye, and feet, blue and a golden yellow for his beak, tail feathers and the little decorations on his wing. Two shades of brown for the wooden branch. Yes, I did add the tan squiggly cuts to the branch individually. I used some liquid adhesive and my reverse tweezers to do that. It was actually quite easy to do.
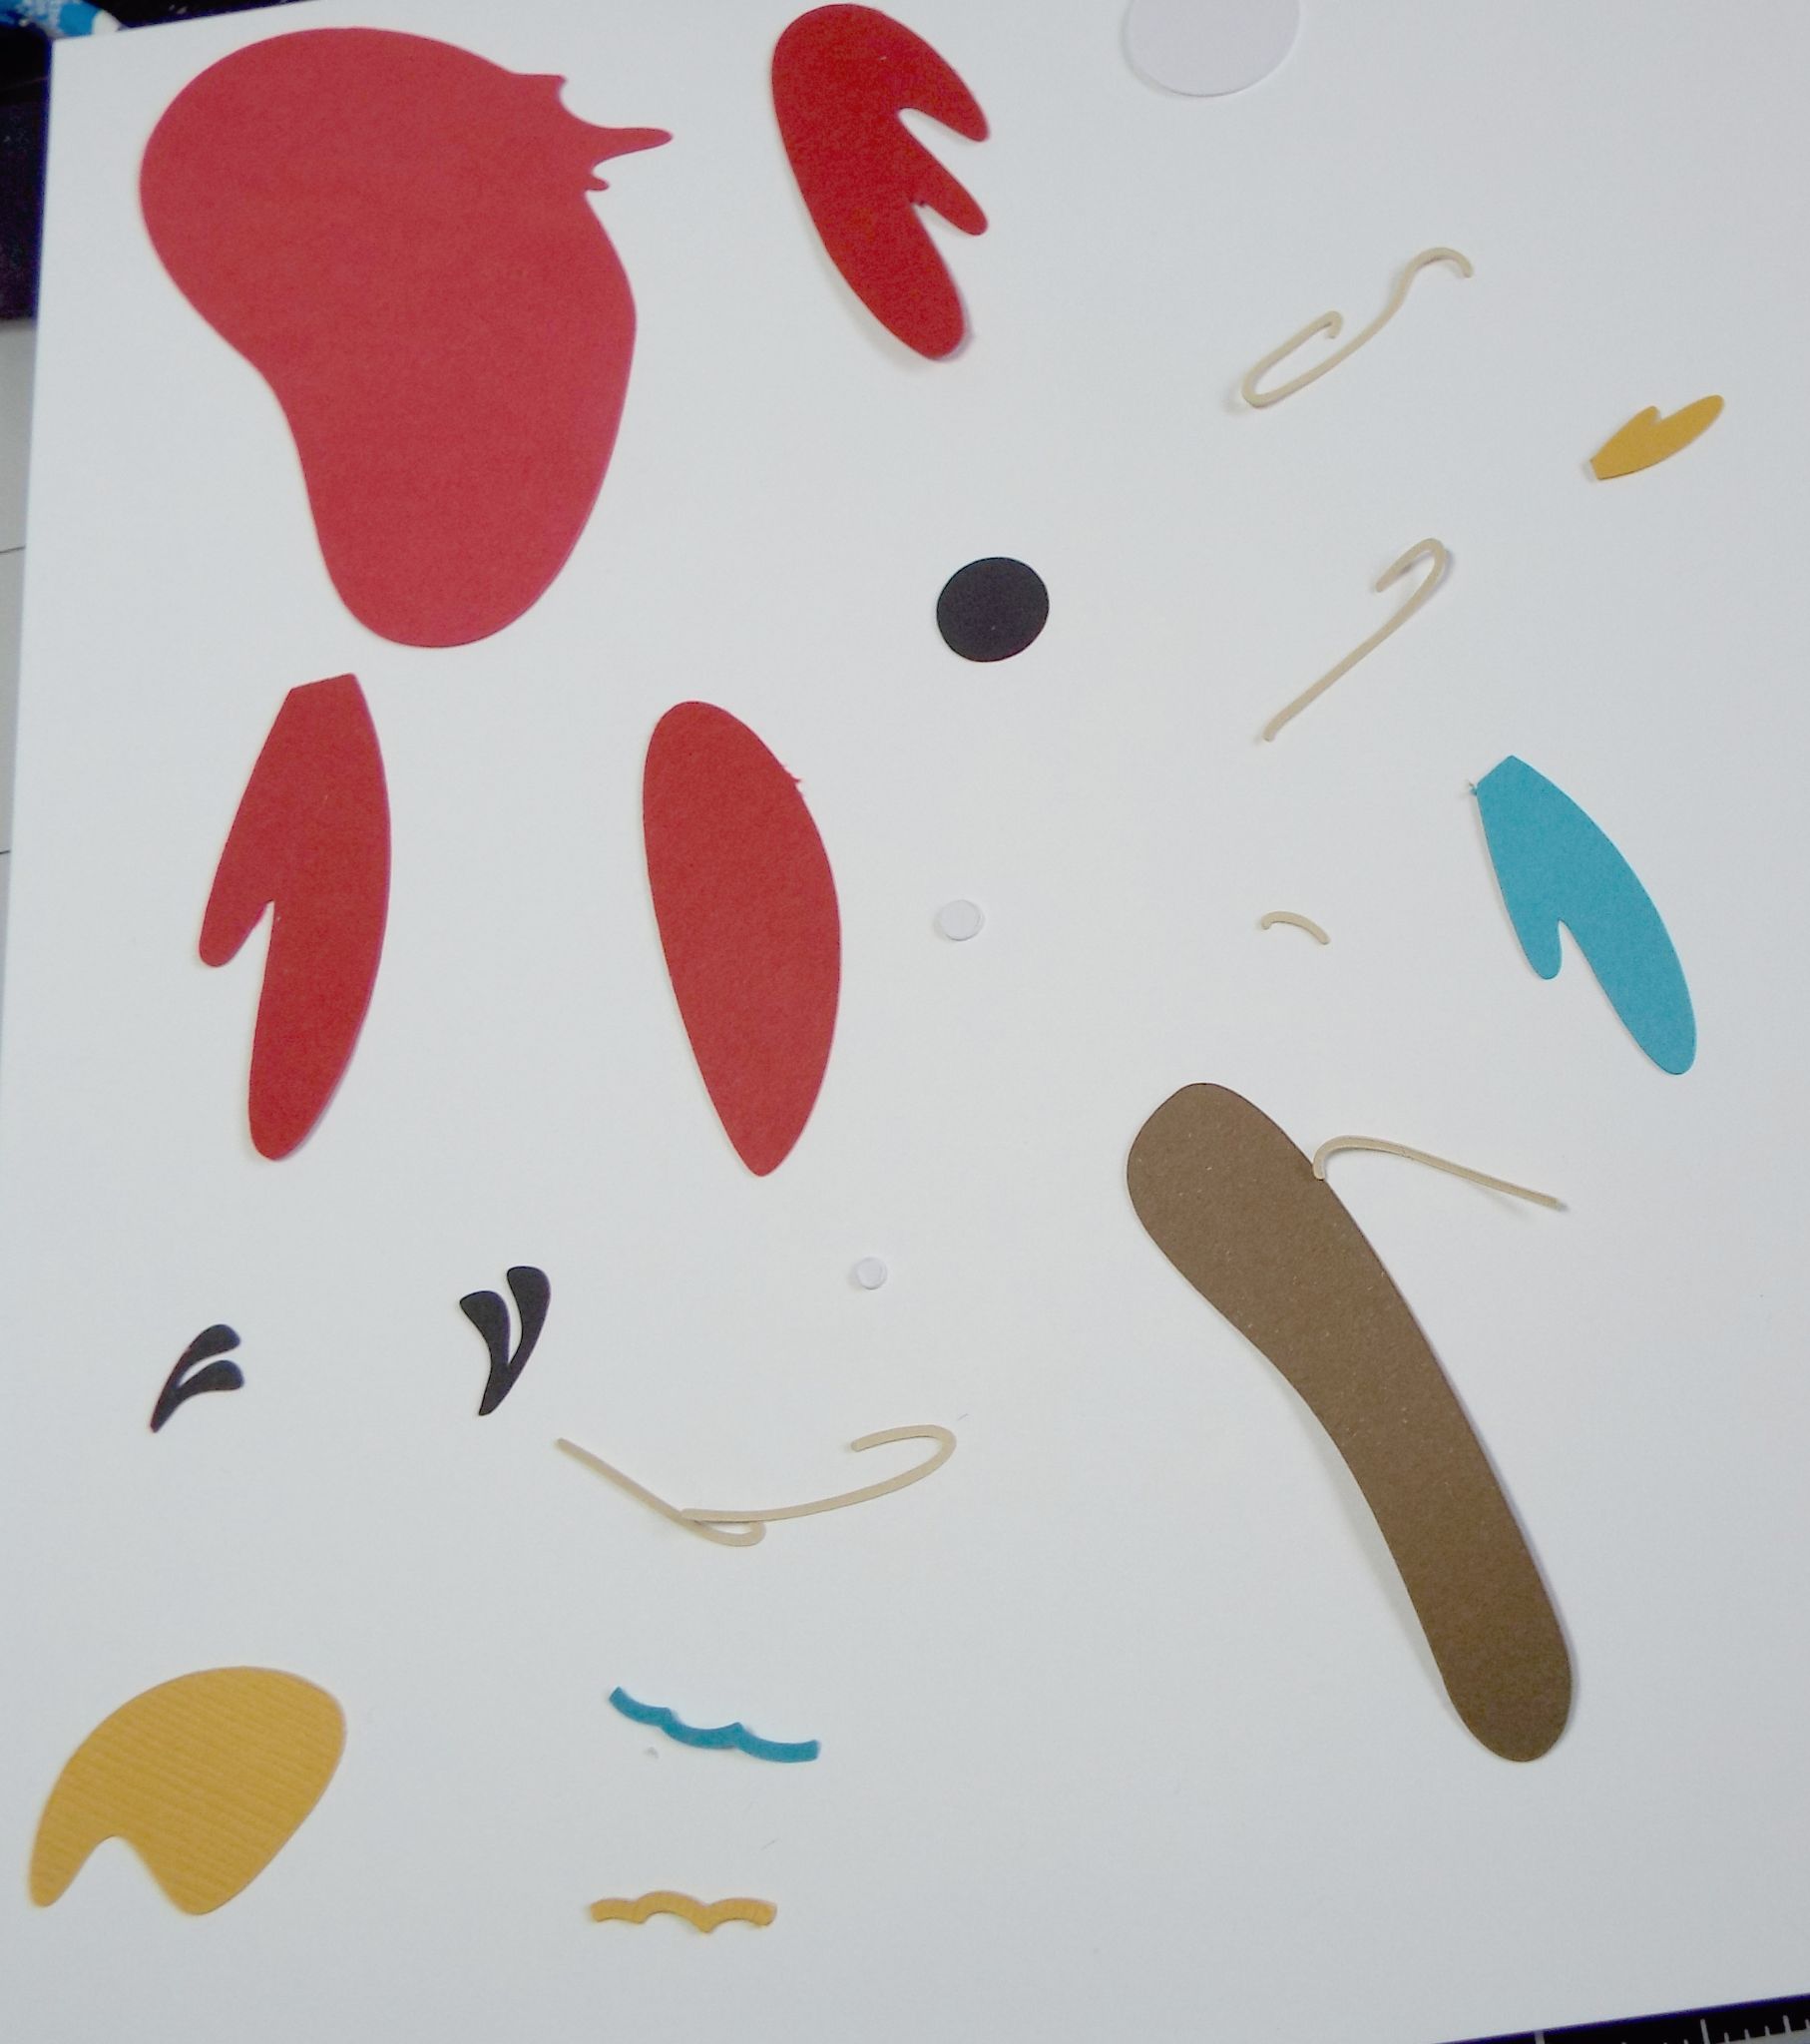
I then assembled my parrot using liquid adhesive. I like using liquid adhesive because it gives just a little wiggle room when adhering the items together. It allows me to adjust the layers to be sure they are correctly layered before the adhesive cures or dries.

I added some Nuvo Glitter Pen to his tail feathers and to the squiggly stripes on his wings. He is ready to go on my card base.
For my card base as usual I started with some heavyweight cardstock that I cut, scored, and folded to make a 4 ¼” X 5 ½” card base. Once again it was time to look for the pattern paper. I knew I wanted something that gave off a bright, happy feeling as well as a bit tropical. I knew I didn’t have a lot of choices despite having way too many 6” X 6” paper pads. I finally settled on a bright striped paper as well as a cheery yellow pattern paper.
The striped paper was cut to 4 ¼” X 5 ½” to cover the entire front of my card. I used an oval die to cut the yellow pattern paper.

The assembled parrot was added to the yellow oval with liquid adhesive. The yellow oval layer was adhered to my card base using some foam tape. To finish the card I added some light blue gems and some iridescent stars from my stash. My sentiment was stamped directly on the yellow layer using some black ink.
So what do you think? Isn’t he bright and cheery? Sure to put a smile on your sweet friend’s face.
I encourage you to head on over to LoveSVG and check out all the SVG files and bundles they have to help you get your crafting on. While you are there be sure to explore the Huge Exclusive Craft Bundle to see all the fantastic SVG files it has to offer. Also look over ALL the bundles offered at their website.
I'm so glad happy LoveSVG chose you and your talents!!! I love the site! And your cards are simply adorable!! The frog on the lilypad is the greatest and your "extras" with embossing are fanastic! The parrot is also fantastic with the colors you chose. Excellent work once again from you!
ReplyDeleteThanks for sharing,
Judy